【翻译】Supporting Gesture Interaction in Your Apps在 App 中支持手势互动
概述
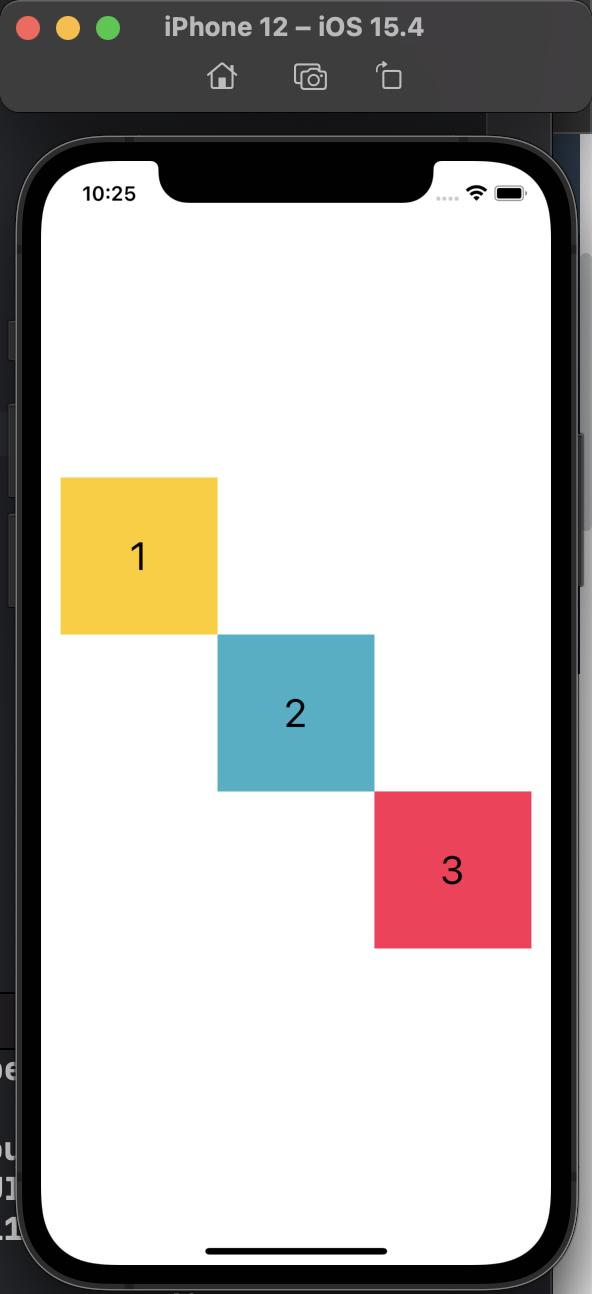
手势互动是iOS 平台最直观的用户体验之一,以及 Gesture Recognizer 提供了简单的方法去实现它。iOS 定义了一些标准手势,同时提供了对应的 Gesture Recognizer。你也可以自定义 Gesture Recognizer 来处理非标准的手势。本文的代码示例工程叫 pieces(片),用标准的Gesture Recognizer,为三个彩色 View 添加平移、缩放和旋转支持,以及如何实现一个自定义的Gesture Recognizer,将 pieces 重置为初始状态。
设置一个 Gesture Recognizer
创建一个Gesture Recognizer,调用 addGestureRecognizer:添加到 view 上
let resetGestureRecognizer = ResetGestureRecognizer(target: self, action: #selector(resetPieces(_:)))
view.addGestureRecognizer(resetGestureRecognizer)
Xcode 中有 UIKit 的标准 Gesture Recognizer,开发者可以在 storyboard 中使用它们。在 storyboard 使用 Gesture Recognizer 的步骤如下:
- 打开 storyboard
- 在 Xcode的 Object Library 中找到Gesture Recognizer
- 拖到 View 上
就这样,Xcode自动地把 Gesture Recognizer 添加到 storyboard 上,同时把它跟 view 联系起来。像给其他 UI 元素添加 action一样,给 Gesture Recognizer 用同样方法进行添加。
处理平移、捏合和旋转手势
本示例代码用平移 pan、捏合 pinch 和旋转 rotation 手势,来移动、缩放和旋转视图。当用户平移一个 View 时,UIKit 触发相关 action 函数,在本示例代码中为 panPiece(:)。传入一个带有偏移量(translation)的UIPanGestureRecognizer实例。 panPiece(:)会计算和移动 view 到新的位置,然后将偏移量清零,下次偏移量的值就完全是相对新位置的增量。
let translation = panGestureRecognizer.translation(in: piece.superview)
piece.center = CGPoint(x: piece.center.x + translation.x, y: piece.center.y + translation.y)
panGestureRecognizer.setTranslation(.zero, in: piece.superview)
我测试过,如果注释掉清零的逻辑,那么视图就会乱飞
类似的,当用户捏合和旋转一个 View,本示例代码用 UIPinchGestureRecognizer的scale 属性、UIRotationGestureRecognizer的rotation 属性,来计算和应用新的变换,然后清零那些属性。
let scale = pinchGestureRecognizer.scale
piece.transform = piece.transform.scaledBy(x: scale, y: scale)
pinchGestureRecognizer.scale = 1 // 清空 scale 属性,那么下次 scale 使用时就是正确的增量
piece.transform = piece.transform.rotated(by: rotationGestureRecognizer.rotation)
rotationGestureRecognizer.rotation = 0 // 清空 rotation 属性,下次 rotation 使用时就是正确的增量
scale 和 rotation 属性跟这个 view.layer.anchorPoint 有关。
anchorPoint:边界的锚点,view 的中心点,旋转就是围绕这个锚点进行。可以配置不同的锚点,锚点不同,旋转的效果不同。默认值是(0.5, 0.5) ,代表这个 view 的 layer 的矩形 bound 的中心。
为了在缩放和旋转时更加直观,本示例将 anchorPoint 移动到手势的位置,而这通常是手势中包含的 touch 的质心。
private func adjustAnchor(for gestureRecognizer: UIGestureRecognizer) {
    guard let piece = gestureRecognizer.view, gestureRecognizer.state == .began else {
        return
    }
    let locationInPiece = gestureRecognizer.location(in: piece)
    let locationInSuperview = gestureRecognizer.location(in: piece.superview)
    let anchorX = locationInPiece.x / piece.bounds.size.width
    let anchorY = locationInPiece.y / piece.bounds.size.height
    piece.layer.anchorPoint = CGPoint(x: anchorX, y: anchorY)
    piece.center = locationInSuperview
}
允许同时识别多个手势
用户有时候想多个手势同时工作,比如同时捏合和旋转。本示例通过实现 UIGestureRecognizerDelegate中方法达到目的,也就是在 shouldRecognizeSimultaneouslyWith 函数中返回 Yes,允许同时操作。
func gestureRecognizer(_ gestureRecognizer: UIGestureRecognizer,
                       shouldRecognizeSimultaneouslyWith otherGestureRecognizer: UIGestureRecognizer) -> Bool {
    return true
}
为了让 delegate 方法生效,本示例将 Gesture Recognizer的 delegate 置为 self,也就是实现方法的 view controller
resetGestureRecognizer.delegate = self
对于在 storyboard 中的 Gesture Recognizer,通过拖拽来设置它们的 delegate。
UIGestureRecognizerDelegate 提供了控制「手势识别」顺序的方法,想了解更多有关手势识别顺序的,请看「优先考虑某个手势 Preferring one gesture over another.」
创建自定义的 Gesture Recognizer
本示例创建了一个自定义的 Gesture Recognizer—— ResetGestureRecognizer,识别的是包含至少三个水平转弯的手势。用户可以用它来重置视图。怎么做呢?先将 view 从初始位置上挪走,然后把一根手指放到没有彩色 view 覆盖的地方,左右来回划动,好像在屏幕上甩动你的手指。
其实更形象的说法是手指在水平方向上折返跑。
为了识别这个手势,本示例在touchesBegan(_:with:)抓起合法的 touch,在touchesMoved(_:with:)中收集 touch 的位置。当用户抬起手指,触发touchesEnded(_:with:),本示例开始数触摸路径上有多少次转弯,如果路径上有两个以上的转弯,将 state 设置为 .ended,识别出这个手势来。
let count = countHorizontalTurning(touchedPoints: touchedPoints)
state = count > 2 ? .ended : .failed
注意,本示例没有进一步消除位置误差或者检查它们的距离来验证,在真实世界里,这些措施是要考虑执行的,从而提高识别精确度和避免识别错误。
更多有关自定义 Gesture Recognizer 的细节,请读「实现一个自定义Gesture Recognizer Implementing a custom gesture recognizer. 」
总结:介绍了如何允许多个手势同时工作,如何处理标准手势、以及如何通过自定义 Gesture Recognizer 处理非标准手势。